
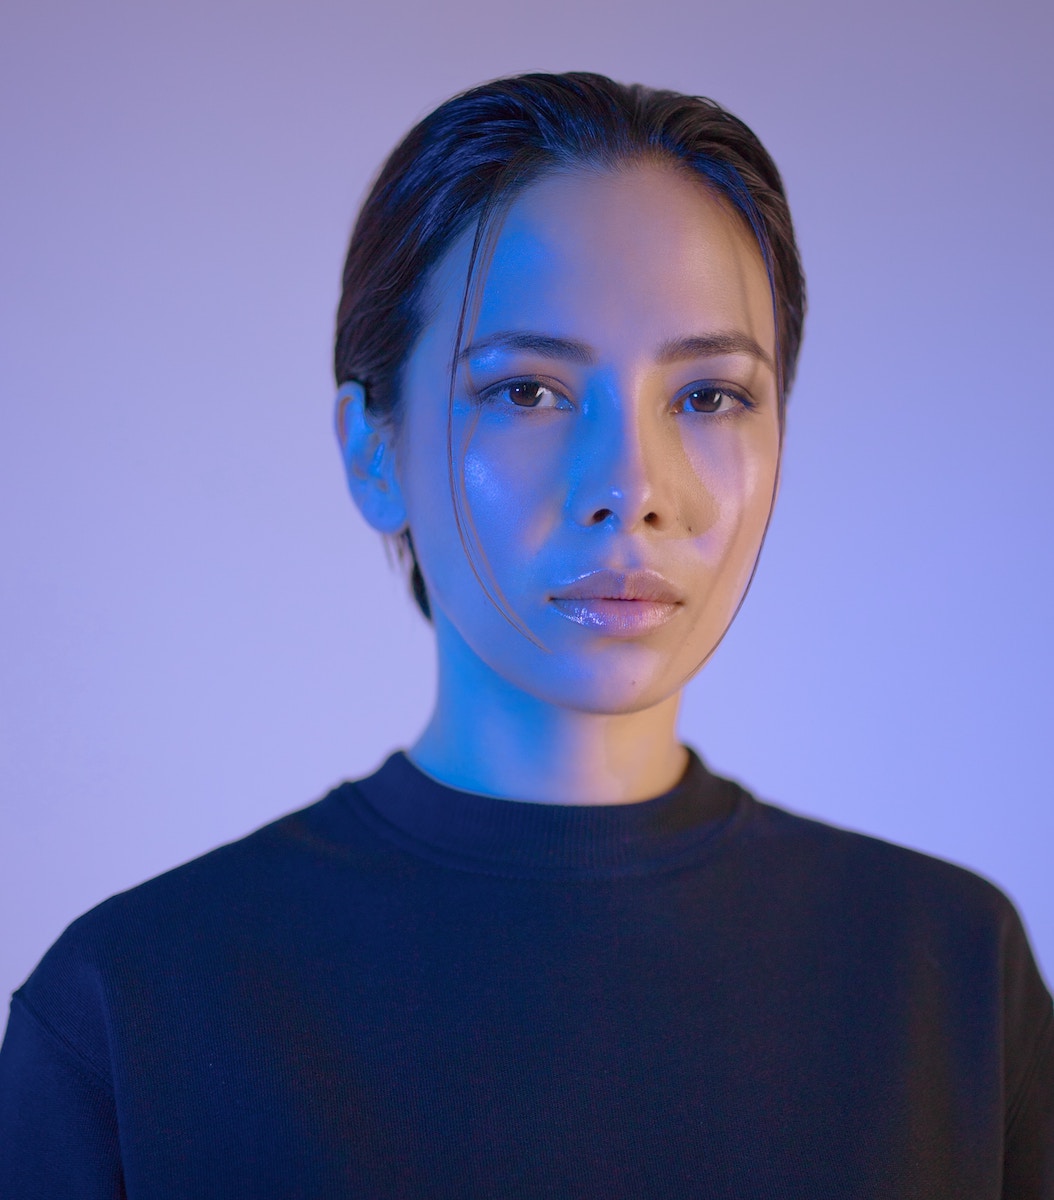
Editing portraits can be tricky; there’s a fine line between making subtle enhancements to a portrait and making your image look fake. But unfortunately, no amount of editing can fix a bad photo; things like poor focus, incorrect angles or overexposure can be difficult or even impossible to fix through editing.
Editing portraits is all about making subtle enhancements to an image that already looks fantastic. You’ll need to put time and effort into taking your images from the very beginning, paying special attention to lighting and composition and then finely-tuning your photography skills over time in order to achieve a great portrait.
Here are some of our best tips for photo editing portraits, so you can enhance your fantastic photographs. Learn how to give your subject a glowing skin tone, remove blemishes and red eyes, crop successfully and perform other subtle editing changes to produce a professional portrait photograph you can be proud of.
But first, you need to take a great portrait shot. Here are a few basic tips for getting started.
Getting started editing portraits: basic shooting tips
- Capture your images in RAW mode, so you can capture as much detail as possible in your shots.
- Use a wide aperture to ensure your subject’s face is in focus and the background is slightly blurred.
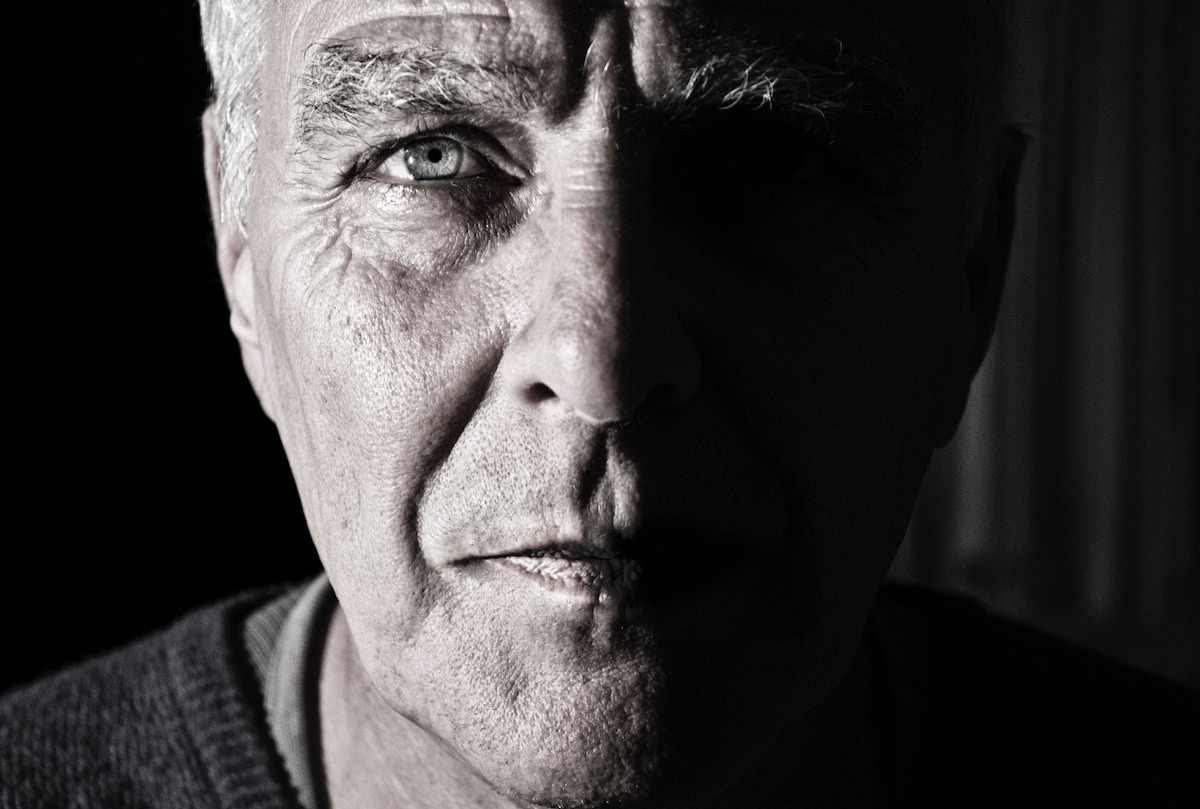
- Beware of sharp light falling on the face, as it will create heavy shadows on your subject’s face. The best way to capture a portrait is by using sidelight or shooting in the shade, if possible.
- Use continuous shooting mode, as subjects will often blink or yawn in photos, and you may not realise it until later.
- Allow room for error in your image by adding space around the outside of the subject. You can always crop later, and this will give you more room for error.
- Avoid shooting faces front-on. This can give your portrait a forced, passport-photo look. Rather, ask the subject to turn slightly to the side, or move around to a different angle.
Now that we’ve covered basic portrait photography, we can move on to photo editing portraits. But if you still need more tips, check out our portrait photography guide here.
Getting started with portrait photography editing
Once you have some beautiful portrait photography images and you’re ready to start editing, you’ll need to think about which editing programs to use. There are a variety of program/s which can be used and what you decide on will depend on a few factors. Consider the following:
- How often will you be performing edits on your photos? If you’re only taking and editing photos as a one-off, it may be better to use a limited trial of an editing program or even a smartphone application.
- Do you just need to make basic edits to your images such as cropping and basic colour corrections, or do you want to learn more in-depth editing skills?
- What are the photos for? I.e. are they for yourself or will you be sending them to others?
- How will you use the images you’re editing? For instance, will you turn them into beautiful canvas prints or photo gifts?
- Will you be developing your skills and editing more photographs in the future?
- What is your budget for photo editing software?
Popular photo retouching programs
There are a variety of options when it comes to photo editing programs. There are a few photo retouching apps which can be used on your smartphone. We discuss the most popular editing apps in our article on phone photography here. Phone applications can be great for simple edits or to add a filter to your image quickly or while travelling.
But, for more than just basic photo editing, we recommend using either Lightroom or Photoshop for portrait photography.
Each has its advantages, but of the two, Lightroom is very intuitive and is great for bulk editing. If you want to edit a whole series of images that have been shot in very similar conditions, it’s easy to save your favourite editing settings as presets and apply them to the whole set with the click of a button.

Photoshop, on the other hand, is great for pixel-level edits and very advanced editing functions. It also works well for when you want to combine more than one image together or want to perform advanced healing edits, such as complex blemish editing, or removing very small objects in your image like stray hairs.
If you’re looking to eventually become a professional photographer, it wouldn’t hurt to learn both Lightroom and Photoshop, but Lightroom is easier to use as a beginner, and it can also work as a platform to store and organise your images, which is an added bonus. You can add keywords to each image, which makes it easy to search for images once your library becomes larger. Lightroom does have a mobile version, but it’s often difficult to see small details when editing on mobile. Editing on a desktop makes it much easier to fix small details like uneven skin tone or blemishes.
It’s true that Photoshop has more advanced editing capabilities but definitely involves a much steeper learning curve. You may need some additional help to learn how to use the platform, with help from a friend or online tutorials.
Initial photo editing functions
The most important thing to remember when editing portrait photos is not to overedit. It can be tempting to make a lot of edits, particularly when you’re just starting out, but performing too many adjustments can just make the people in your image look unnatural, which can become very distracting.
When you’re just getting started with photo editing portraits, you’ll want to begin with basic editing functions before you move onto more complex editing changes.
- Cropping
A clever crop can enhance your image and draw the audience’s attention to the most important parts of the image. If you’re taking a photo of more than just the face, beware of cropping your image in strange places. Leave enough neck visible in the image so that the subject’s face has context, and if you’re taking full body shots, ensure you don’t crop at the knees, wrists or elbows. It’s better to crop first as, if you perform all the other adjustments first and then decide you don’t like the angle of the shot it may be a waste of your time.
- Straighten your image
When cropping, ensure you also rotate your image so it is straight. It can be quite distracting looking at a crooked image. You can judge how straight your image is by using the horizon, ceilings, tabletops or any other straight lines in your image.
- Adjusting white balance
Before you get started editing, it’s important to calibrate your monitor. First up, adjust the white balance within your image. This can really change the skin tone which is important for a natural-looking portrait shot. Your camera is usually good at distinguishing colours when you take a photo, however, there are times when it may get it wrong and your image will turn out overly warm or cool. Often an image will become too warm in candlelight or sometimes in artificial lights. In these scenarios, you may want to adjust your images so they look more appealing.
In the same way, on overcast days your image may look bluer. To change the white balance, you can choose automatic white balance settings and test out which one you prefer. For example, the setting “Tungsten” will warm up your image. Otherwise, you can manually make adjustments to your white balance using the slider tool. Simply slide the bar to yellow to make your image warmer or blue to make it cooler.
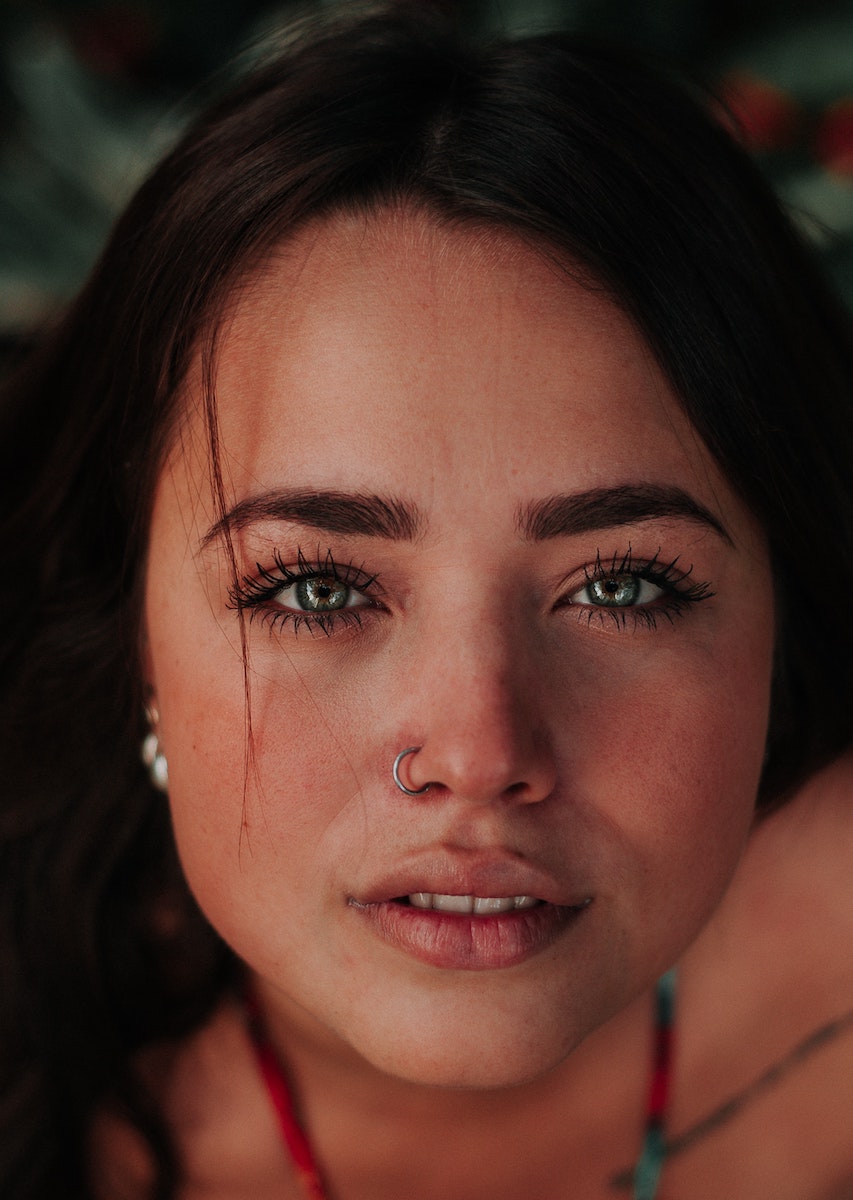
Brighten the eyes
The eyes are the most important part of your shot. They draw the audience in and connect them to the image. To make the eyes stand out, you can boost the colour and contrast of the irises. You can also make the whites of the eyes clearer and whiter. Increase the sharpness of the eyes, which will make them brighter and more alluring, while other aspects of your image like the skin will still be dulled to make them appear smoother.
Utilise presets
Presets in Lightroom can be very helpful, particularly when editing a number of images taken using the same conditions or have similar exposures. Presets allow you to save a set of conditions and then, using just one click you can apply those same conditions to other images to achieve the same effect.
Spot removal
The Spot Removal Tool in Lightroom can be extremely helpful in editing portraits and creating smoother, clearer skin. To use this too, simply select the tool and adjust your opacity to at least 75%. Adjust the brush size, and select the offending area on your image. The tool will select the spot and then sample the surrounding sections of the face, feathering over the blemish.
The same tool can be used for dark shadows, for under the eyes, for example. When doing this, increase the brush size and use clear strokes under the eyes, but try not to go too close to the eyes. Adjust your opacity to 50% as you’re working with a larger area and too many dramatic adjustments can start to make the image look fake.
Smooth the skin
Next, smooth the skin using the Adjustment Brush Tool. Select the brush tool then select the Skin Smooth + option from the Effect menu. Adjust your brush size, then slowly paint over the skin in long, careful strokes. Using the shortcut “O” on your keyboard, you can preview the area you have selected before you complete the change.
Whiten teeth
You can whiten teeth easily in Lightroom by using the brush tool. Simply select the brush, click Effect, then click the Teeth Whiten tool. There are two options; Teeth Whiten Grey and Teeth Whiten Yellow. You may want to experiment with which one works best for your image, depending on whether the teeth you are correcting are too yellow or too grey. Change the brush size to ensure it is precise enough for the area you will be editing. From here you can brush the areas you’d like to correct.
For more complex adjustments like straightening teeth, Lightroom has difficulty with but Photoshop can be useful.
Adding colour to the mouth
When editing portraits of women, or anyone wearing lipstick, you may want to also increase the saturation in the lips. You can easily achieve this in Lightroom using the Adjustment tool and brushing the lips.
Once you’ve finished, try to assess your image or even get a second opinion to ensure you haven’t over-edited your image. It can be tempting to do this, particularly in the beginning, but remember; the key is to perform simple, slight edits to achieve a natural look.

The only way you’ll learn to edit portraits to create stunning photos is if you practice! Practising is crucial in order to achieve portraits quickly and easily. With practice, you’ll learn to easily recognise what will look good, and what won’t, and you’ll be able to perform edits quickly.
Once you’ve created your stunning portraits, Canvas Factory offers premium printing services. Select from a wide range of sizes and designs, such as HD metal prints, canvas prints, acrylic prints or photo gifts.


