You’d be surprised at the shots you can achieve using your smartphone. Phone photography has become immensely popular in recent years due to the technological advancements of smartphones. The cameras in smartphones have gotten even better and the picture quality you can achieve is now often just as good as what you can achieve using a DSLR or mirrorless camera.
There are certain instances where using DSLR or mirrorless might be to your advantage, but there are others where it doesn’t matter so much, particularly during the day, and when the zoom or flash isn’t necessary.
Phone photography tips and tricks
The picture quality you can achieve with your smartphone can be greatly enhanced with smartphone accessories and by being aware of the full functionality of your smartphone camera.
Read on for our simple phone photography tricks and tips to dramatically improve your smartphone shots.
1. Ensure you have enough storage
 First things first; you don’t want to get to your destination and discover that you don’t have enough storage on your phone to take the photos you want.
Clear your memory before you go to a location where you know you’ll be taking a lot of photos. It sounds obvious, but the more images you have, the more likely it is that you’ll have a good one, so you’ll need lots of storage space.
When you’re doing photography on your phone, due to the
small lens size and small phone size, and how often you use your phone, it’s very easy to get smudges on your lens, a blurred image, or even a rogue fingertip in the shot.
With phone photography, it’s about quantity and quality! Taking more shots will ensure that even if you do have a bad photo or two, you have plenty of others to choose from.
2. Equipment
In terms of the best phones for phone photography, the market is adapting and improving year by year. The iPhone 11 Pro features a 12-megapixel camera with multiple cameras and a 5x and 10x zoom. It also has a great night mode, which can be extremely helpful in low light or even night-time situations.
It also features a separate wide lens, perfect for landscapes. Using the wide lens, the iPhone 11 can take two images and merge them together, so you have more freedom when cropping. If, for instance, you need to adjust the horizon, you’ll be able to correct your image or rotate it without cropping the image too tightly, due to the extra information the phone has captured.
Other phones are also catching up, with high-quality photos, such as the Google Pixel 3 and 3XL, and the Samsung Galaxy Note 10+.
If you’re not in the market for a new phone just now, there are other options to explore. You can try:
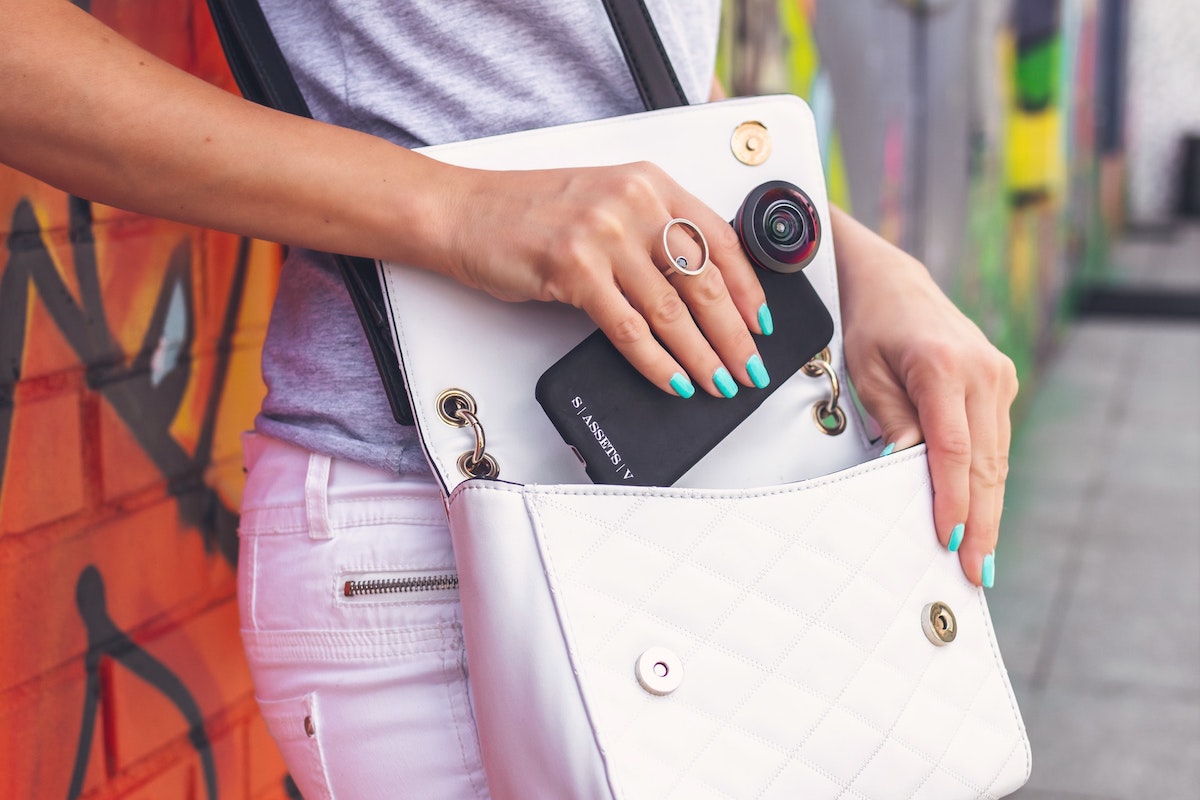
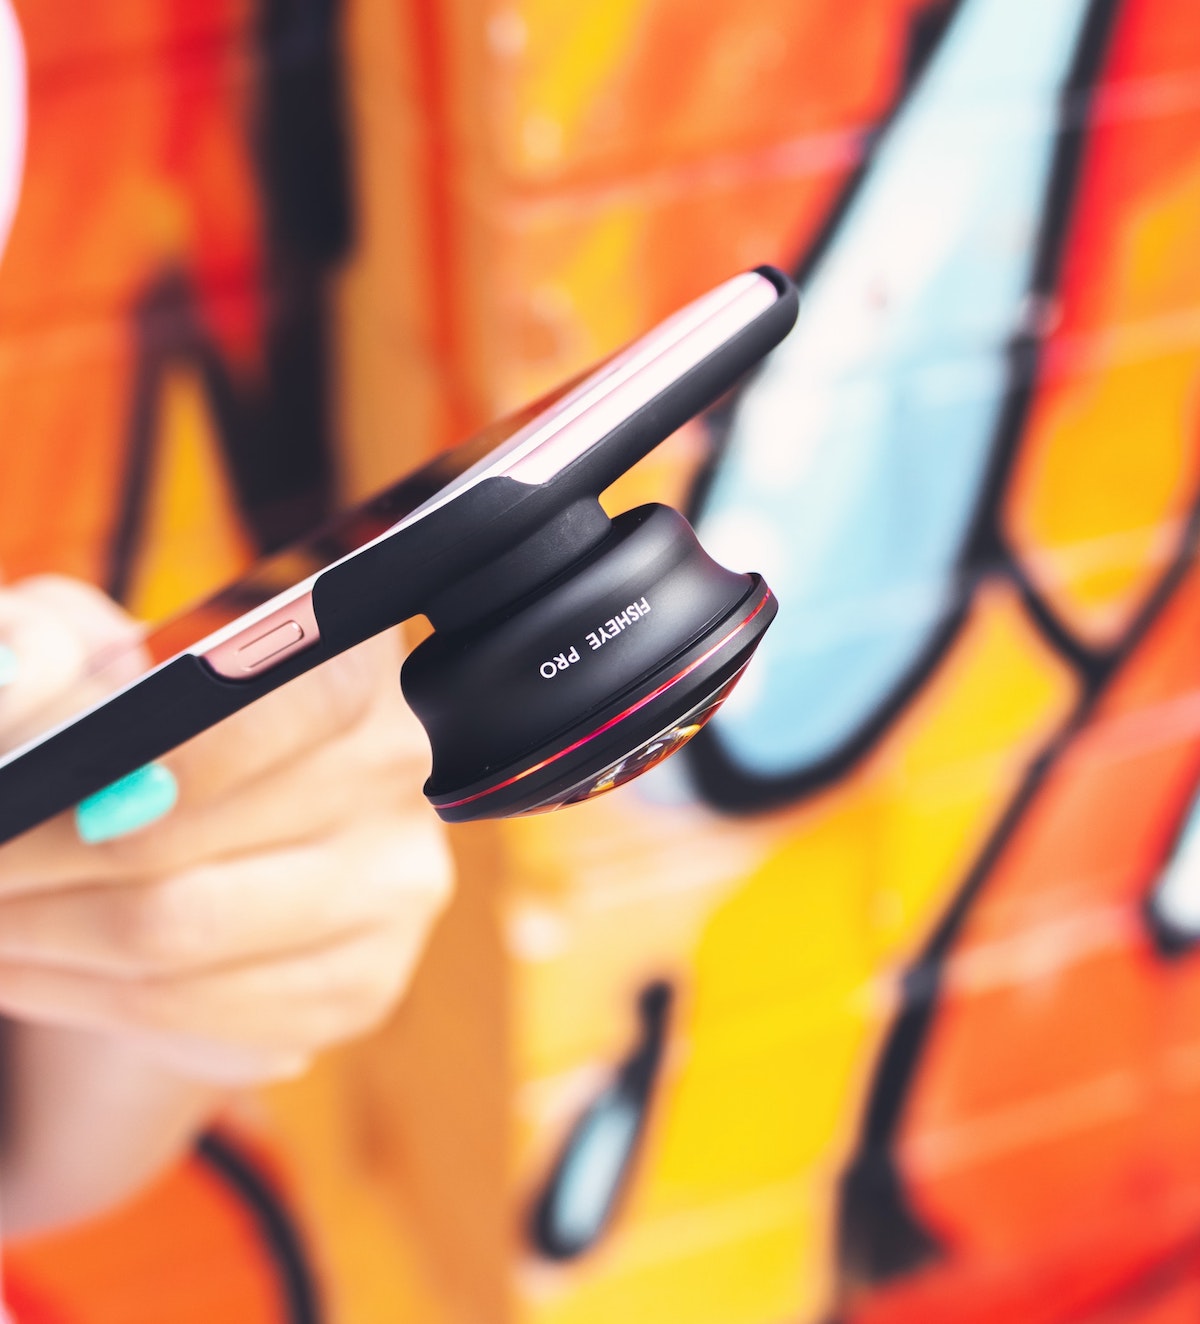
- Attachable lenses which can be affixed to the back of your phone to enhance your existing camera phone. Lenses need to be easy to affix to your camera on the go. After all, the reason you’re using a phone for photography is usually so you can have just the one tool for everything, rather than lugging around a large DSLR
- A phone tripod. These can work well if you’re trying to capture a time-lapse, or you have a habit of getting home only to discover half of your photos are blurry
- A cable release or selfie stick. If you’re a fan of the selfie, or you’re shooting alone, you may also want to invest in a release cable. This is a long cable and button which can run from your phone (ideally on a tripod but not necessarily) to your hand. When your shot is all set up, simply press the release button to trigger the camera. A selfie stick is also easy to use, but ensure you invest in a high-quality one. Poor quality selfie sticks can break and your phone can fall out which is not ideal!
3. Don’t use your zoom
Even though you might be tempted to use your zoom, resist, unless you have one of the previously mentioned attachable zoom tools or a very new smartphone with an excellent zoom feature.
Most smartphone zoom functions aren’t very good, and, as a result, your images will end up looking grainy and lose their quality.
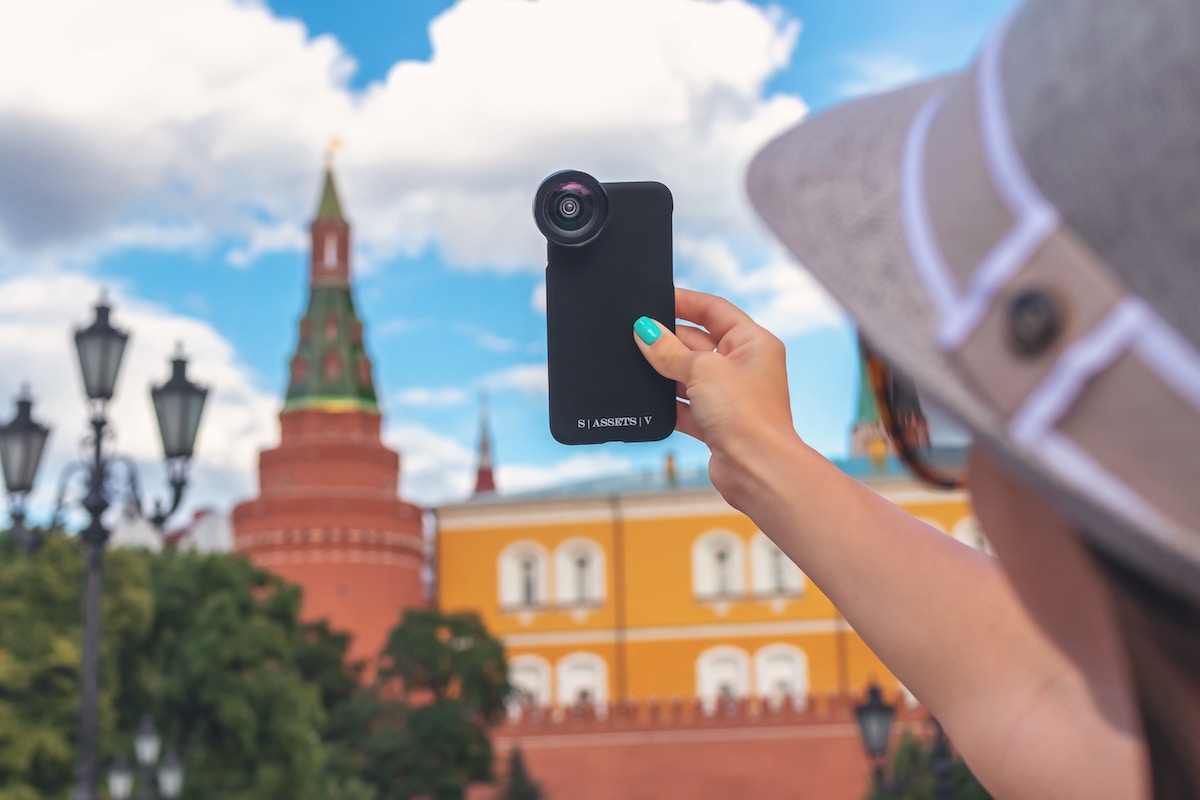
Instead, physically move closer to your subject to get a better image or invest in an attachable phone lens.
4. It’s all in the lighting
 Know when to use lighting to your advantage. A smart photographer will know how to manipulate light to their best advantage. Of course, much of this comes with practice, but a few extra phone photography pointers won’t go astray either!
It depends on what kind of smartphone you have, but many smartphones don’t perform well in low light. You’ll find that your smartphone performs the best in outdoor, daytime natural lighting. The direction of your shot will define the angle the light is coming from. The time of day that you shoot in will affect how soft or hard the light is.
Soft light usually occurs in the mornings or the evenings, as well as on overcast days. On the other hand, the hours between 11 and three usually produce the harshest light, as well as bright, sunny days with no clouds.
Usually, the best time to shoot is when you have soft light however if you understand how to manipulate the light, you can still achieve some fantastic shots in pretty much any scenario. Sidelight can be great, as it creates some interesting shadows.
Light in the morning at sunrise or sunset is generally referred to as the “golden hour”. The light at this time creates a warm, golden glow, creating soft and intriguing shadows across your subject.
5. Use focus, always
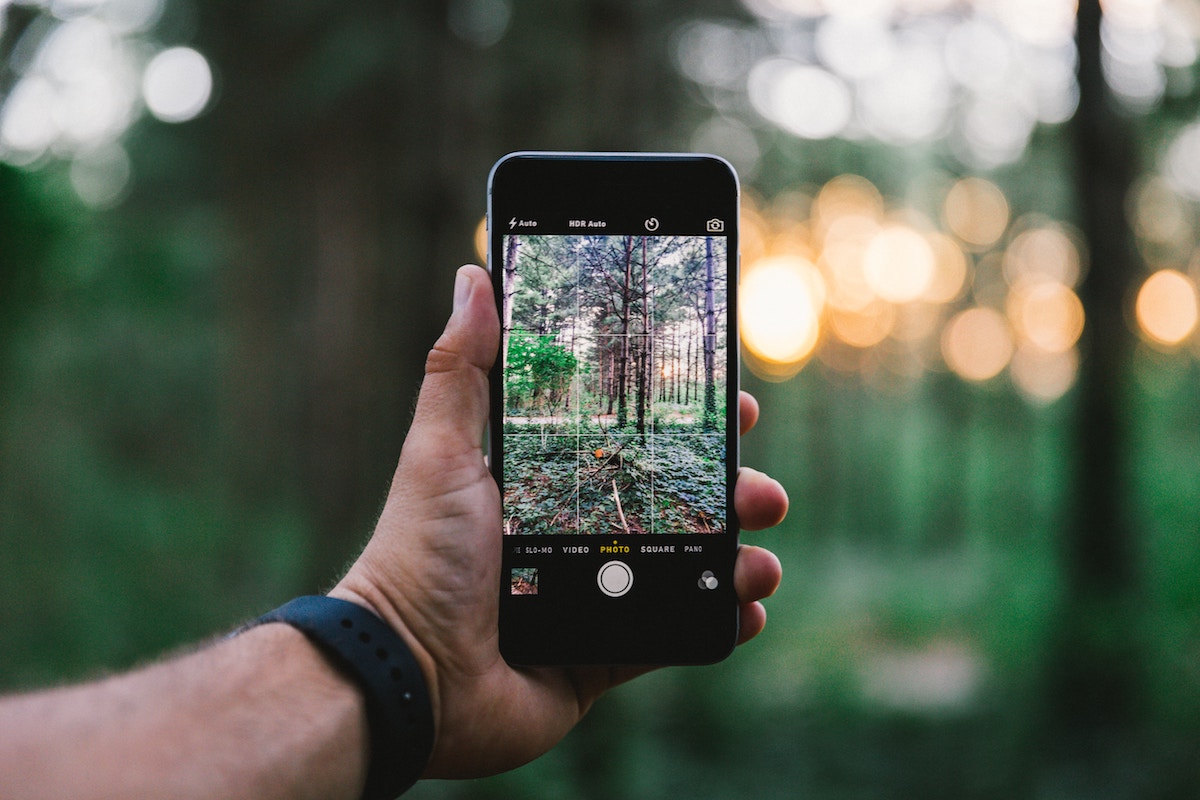
With phone photography, many of us forget to focus our shots, but this can be crucial when we’re on the go. Most phone cameras will have autofocus where they’ll make the entire scene sharp. If you’re trying to shoot something closer to you, however, you’ll need to manually focus your camera.
To do this, simply tap the screen to focus your lens on the subject. This will focus on the subject in the foreground.
6. Try to keep your phone steady
As well as focusing your phone, try to keep your camera as steady as possible. While this isn’t always easy when you’re on the move, this can be a major failing for many phone photos. If you’re not sure you got a steady shot, keep taking more photos!
7. Use HDR mode
When working in difficult lighting situations, HDR mode can be instrumental in helping you get a great shot. Most smartphones now feature HDR. It stands for High Dynamic Range, and essentially it involves your camera taking a series of images at once and using the best detail, the images are composed as one high-quality image. This helps in difficult lighting situations as any detail that is missed in one image can be added together from the three combined images to create a full picture.
In order to enable your HDR, it usually simply involves changing the settings within your phone to switch on dysfunction. On some phones, it may be called something different for example, “Rich Tone”.
Whether or not you could use HDR in other scenarios, is up to you. It really is a matter of taste and testing out this function on your specific smartphone to discover which modes you prefer. The HDR function on some smartphones tend to make images overly saturated or overly bright, which you may not prefer.

8. Clean the lens
As with blurs from movement, unfortunately, it’s all-too-easy for your phone lens to get dirty. You’re probably pulling it out at any one moment to check the time, social media, or a text message, and touching the lens much more than you think.
Thankfully, some phones actually have a feature on their phone where you’ll get a warning within the camera if the lens is too dirty. But often you won’t realise, so it’s important to be vigilant and keep cleaning the lens. It sounds obvious, but with phone photography, try to think of your phone not as a phone, but as a camera! Get in the habit of checking the lens, focus, lighting and composition before you start snapping away.
9. Use the rule of thirds
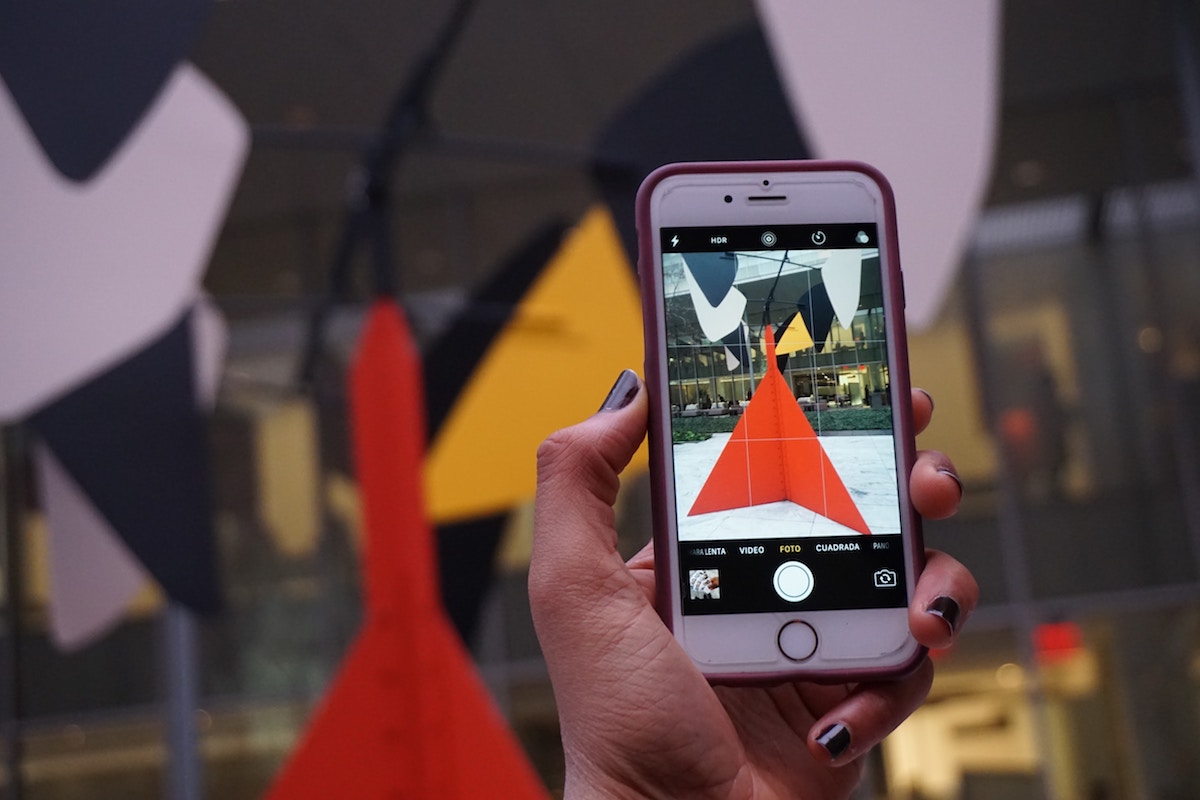
Many smartphones now have a great feature within the camera tool which allows you to easily see how you need to position your shot. The role of thirds is one of the most common rules in photography, but that’s not to say that this rule can’t be broken.
As you develop as a photographer, you’ll begin to consider the role of thirds without even thinking about it, but in the beginning using this tool can be helpful, and it is one of the easiest composition methods to remember.
Using the rule of thirds, look at the four middle intersection points on the grid. This is where you should place the main points of interest within your frame. For instance, if you’re capturing a portrait, you want to capture the subject on one of the four intersections. This keeps them out of the centre, instead of directly in the centre of the frame. This creates an interesting composition with enough negative space to make the image interesting. This is because the viewer’s eye will automatically fall to these points in the image and the image becomes more balanced.
When you’re creating landscapes, it’s best to work in thirds again. For instance, your mountain might take up one-third of the image or two-thirds of the image, but it should never fully take over the whole photo. If you don’t show mountain next to negative space, or next to another object, there is no context to your image, and you won’t be able to capture the full scale of the mountain.
Ideally, you’ll want to use the rule of thirds when you’re actually composing your image but if you haven’t, there are ways of getting around this. You could always try to crop your image creatively to invoke the rule of thirds, effectively changing the composition of your image.
10. Photo composition
Composition is crucial in any kind of photography, but even more so when it comes to phone photography, as you have less creative freedom with other aspects of your shots, such as the ability to zoom. The composition of images can help separate amazing photos from average ones. It can make your image stand out from the crowd, especially when you’re capturing a scene that has been done many times before.
Although other aspects of your photography are important, including the equipment you use and lighting, composition is crucial. It encapsulates how you arrange the image within your frame.
Effective competition should strive to make an image more interesting or more balanced. That said, if the content and concept of your image is powerful enough, you don’t necessarily need to follow the rules of composition.
11. Back up your images
As well as taking a lot of images to begin with, another key aspect of phone photography is to ensure that you are your images consistently. This particularly applies with unique photos that you are unable to recreate.
Continual advancements in technology means that there are now many options when it comes to backing up your images.
Options include:
- DropBox, which has a mobile application which can be used directly from your phone
- Flickr, which gives you 1TB of storage space for free, however, you’ll need a Yahoo email address to sign up
- Manually backing up your iPhone using iTunes
- Manually storing your phone photos on your computer, or by using Google Drive
- Using an external hard drive.
Generally, storing your photos are using a cloud-based storage system is going to be slightly safer. An external hard drive will usually have a large amount of storage space, however, this could also be prone to damage and destruction. However, an external hard drive can be particularly helpful if you’re sharing images with others in your team, workplace, or within your friendship or family group.
12. Use burst mode
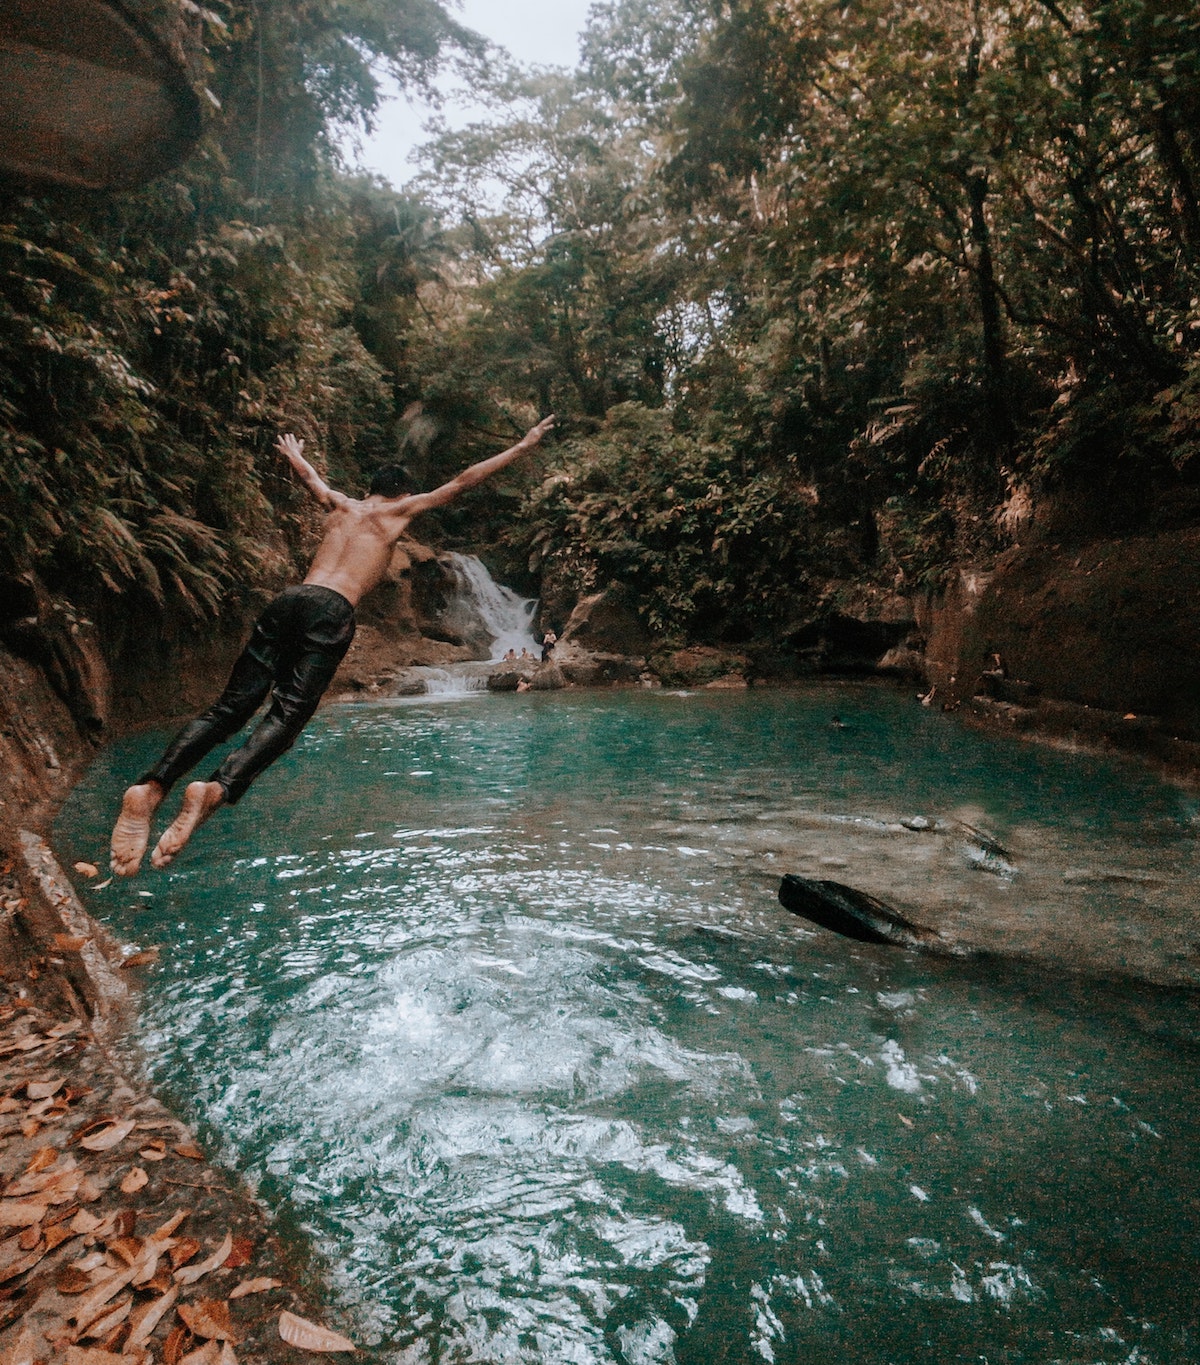
Action shots can be difficult with your smartphone, due to the difficulties you might experience when trying to focus. However, when you’re trying to capture action shots it can be helpful to use burst mode.
This mode will allow you to take a long stream of images quickly and consecutively. For instance, you might want to capture someone jumping into a pool or capture your dog running along the beach. Burst mode is perfect for these scenarios.
13. Use reflective surfaces
Once you’ve mastered the basics in phone photography, try to look for more creative shots. Use surfaces such as mirrors, puddles, lakes or glasses to create beautiful reflections and create symmetry.

14. Look for patterns and shapes
With any kind of photography, patterns, shapes and leading lines can create intrigue in your images. These can be natural or man-made.
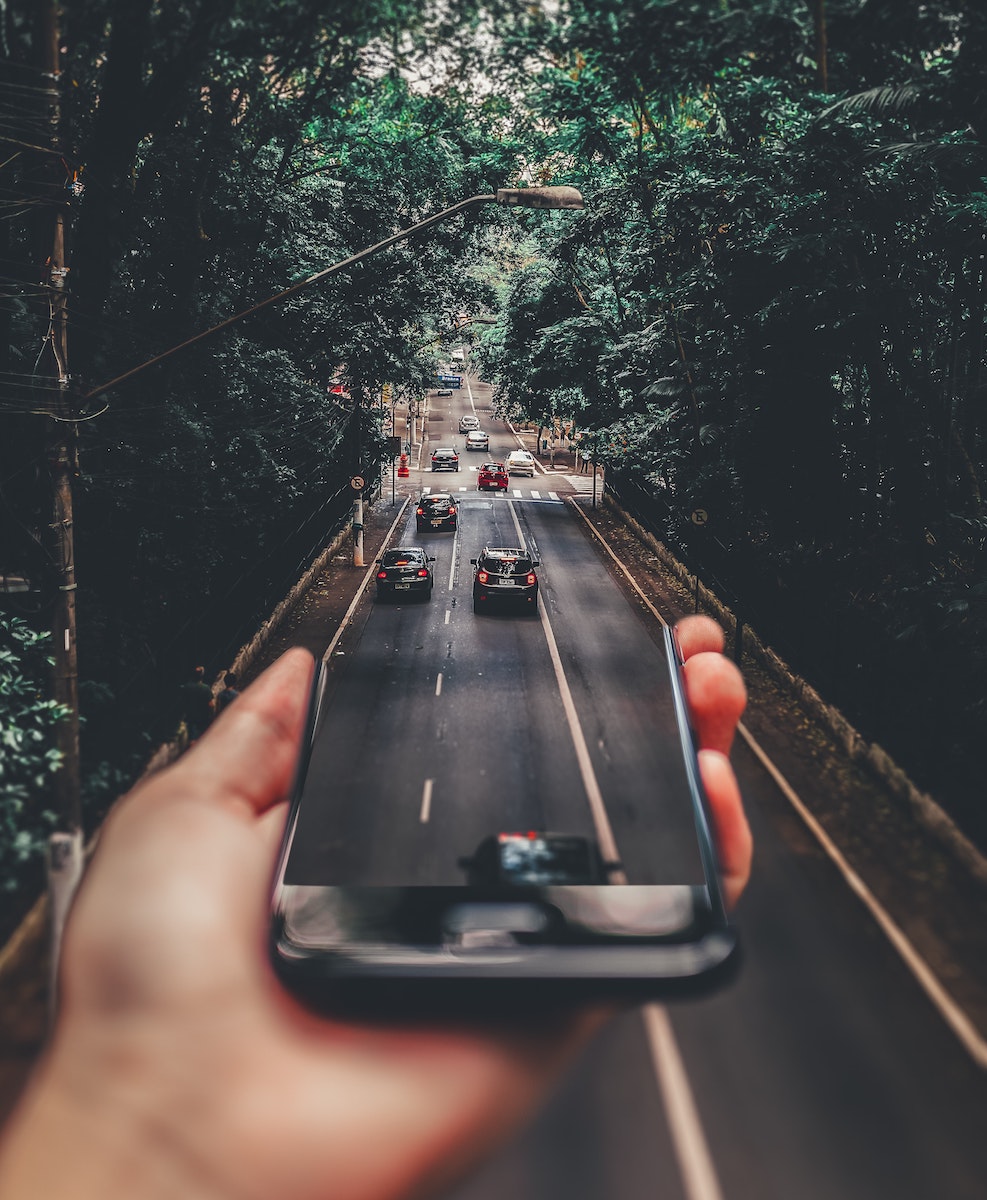
Leading lines is a simple compositional trick, using shapes in an image which can be used to direct the viewer’s attention to certain images in your shot, such as a road leading off into the distance, a path leading to a bridge, a river leading to a mountain, or the lines on a building pointing to a person or central subject.
When using leading lines, it’s important to frame your shot so the lines actually point to your subject. If they point off into nowhere, your photo can look out of alignment and imbalanced.
Once again, using leading lines and shapes correctly within your photography may take time and practice to master, but once you’ve got the hang of it you’ll do it without even thinking.

15. Use editing apps
Thanks to advancements in smartphones, there are now virtually hundreds, even thousands, of phone photography applications than can be used to enhance your images. Some people prefer to use just one editing app, whereas others use a combination of different applications to perform different functions.
There are some great, affordable options available, such as:
- Lightroom for mobile. Although this application has limited functionality compared to the desktop version, it can be very helpful and a great introduction to Lightroom in general, if you’re new to photo editing. To help you out, you can also purchase presets, which will automatically apply changes to a photo to achieve certain editing looks. Lightroom has a large photo library with the ability to continuously save images to cloud storage.
- TouchRetouch can be used to specifically to remove unwanted elements from your images, such as people, lines, or unnecessary objects. The great thing about this app is that it is very simple to use. It can be difficult editing fine detail on a small mobile screen, but this app makes it easy.
- Snapseed is a free app which offers a number of different tools. Aside from simple changes, it also features the ability to modify the depth of field, perspective, and curves. It has become immensely popular due to its user-friendly functionality and simple format.
- VSCO Cam has been around since the dawn of Instagram. It’s still a great tool for basic photo editing and correcting exposure, contrast and temperature. It’s great for beginners, as it has a range of filters and presets within the application. This allows you to add a personal touch to your images, perfect if you want to create a definitive look that stays consistent with all your images.
When you have a collection of amazing smartphone photos, why not use them to create beautiful canvas prints or photo gifts? Check out our range of premium, high-quality canvas prints here, and our photo gifts, such as photo mugs, photo blocks or photo cushions.


