
Personalised photo cushions are the ultimate low-cost home décor piece. You can never have too many cushions! They’re affordable, easy to style, and simple to create. They also make the best presents for a loved one – or just for yourself.
It’s for this very reason, however, that they’re also easy to over style. It’s way too tempting to add too many cushions or mix different clashing colours, textures, and styles in the same space. On the other hand, you don’t want to include too many boring, bland coloured-cushions, especially when it comes to a neutral space.
Personalised photo cushions are the perfect solution for bland spaces. They’re almost like mini artworks, making them the ideal way to display your images, whether that’s a treasured memory or simply a design you love! So, how can you create and style personalised photo cushions?
1. Decide on your colour palette
First things first; decide on the space you want to style – this goes for whether your photo cushion is a gift or for yourself. When you’re creating a personalised photo cushion for yourself, think about your space – are you creating a cushion for your bedroom, living room, or even to fill space on a cute kitchen bench?
Your colour scheme should reflect the space. If you’ve got a modern, minimalistic design scheme, opt for black, white, red, or bold blue or green. If you’ve got a costal scheme, you might prefer to opt for blues, creamy neutrals, yellow or green. Or, if your theme is more industrial, select neutrals or go with charcoal or brown.
If you’re buying personalised photo cushions as a gift and you’re not sure of a colour theme, go for something neutral, such as:
- Black and white or sepia images
- Neutral tones
- Photos with a light, creamy edit
2. Work with the style of your spaces
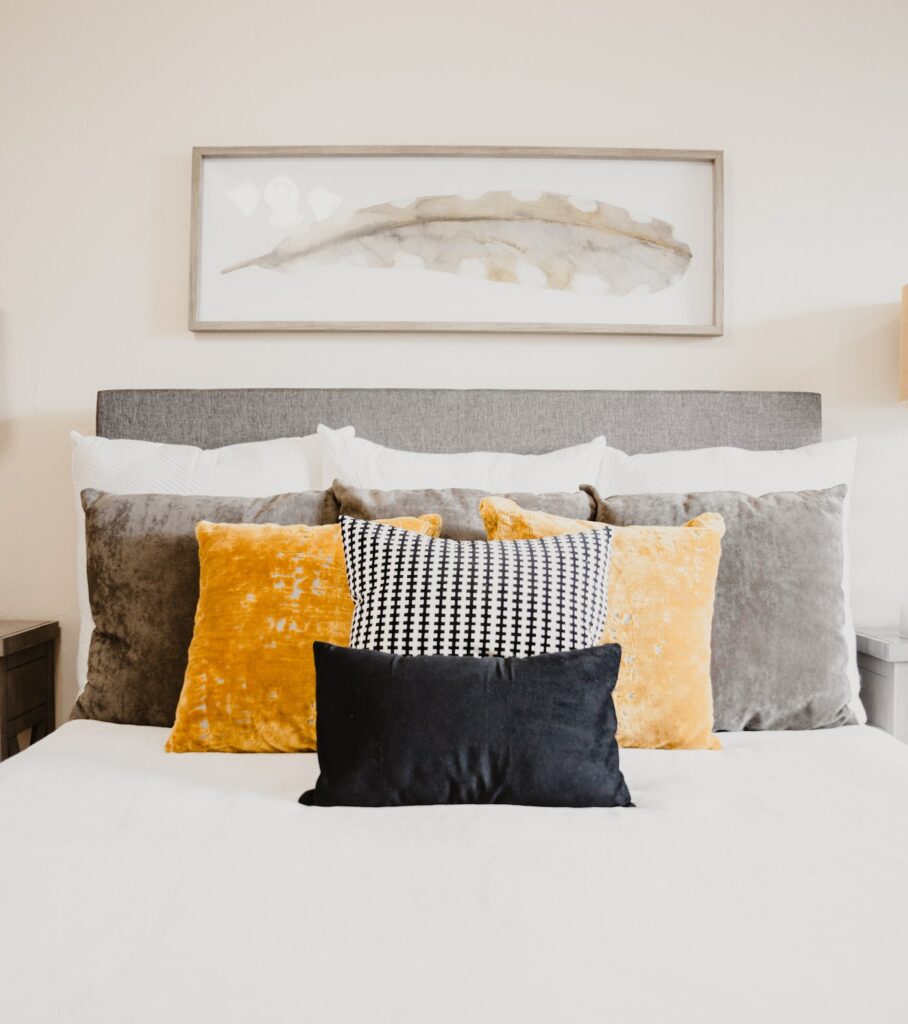
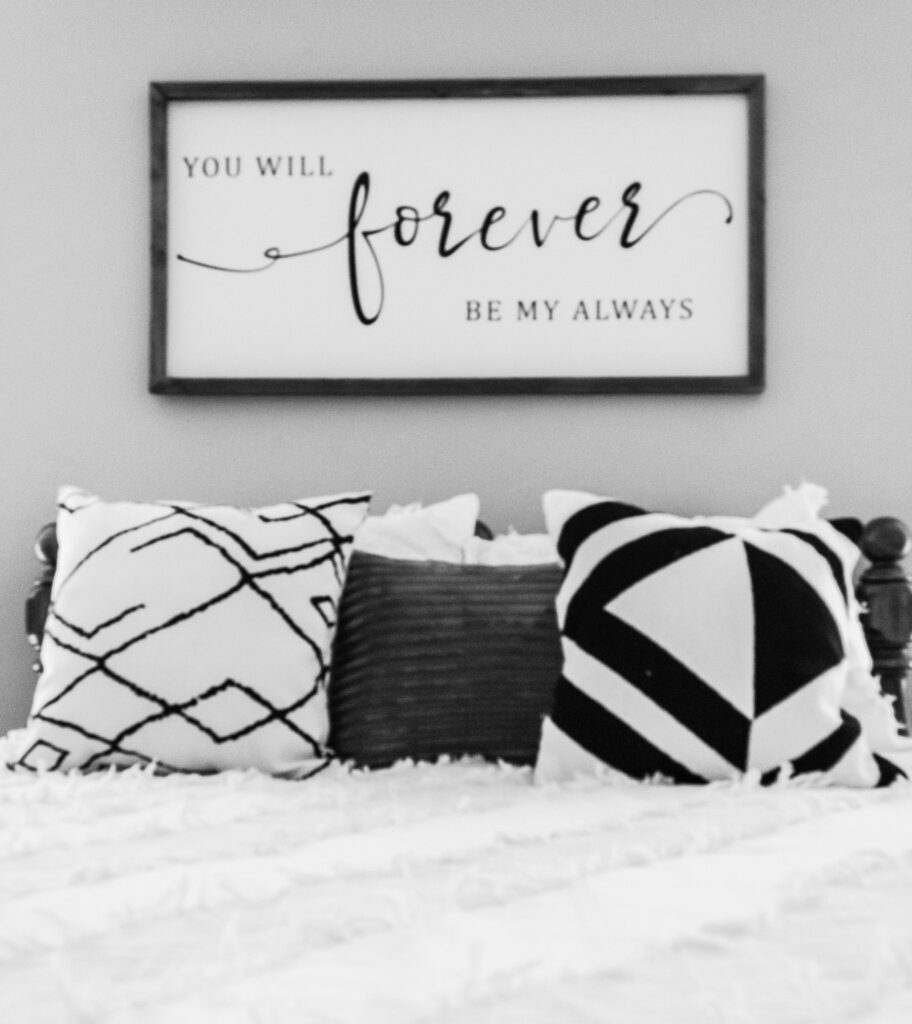
For a double bed or larger, aim for four standard-sized pillows at the back. Then you can add cushions at the front. For a more balanced look, try layering two smaller plain cushions at the front then a photo cushion at the front with lots of detail.
Alternatively, for a larger bed, you could do the opposite. Add two personalised photo cushions, two more plain cushions then a patterned or textured cushion at the front. It’s really up to you and whether you want a classic look or something with a little more depth.
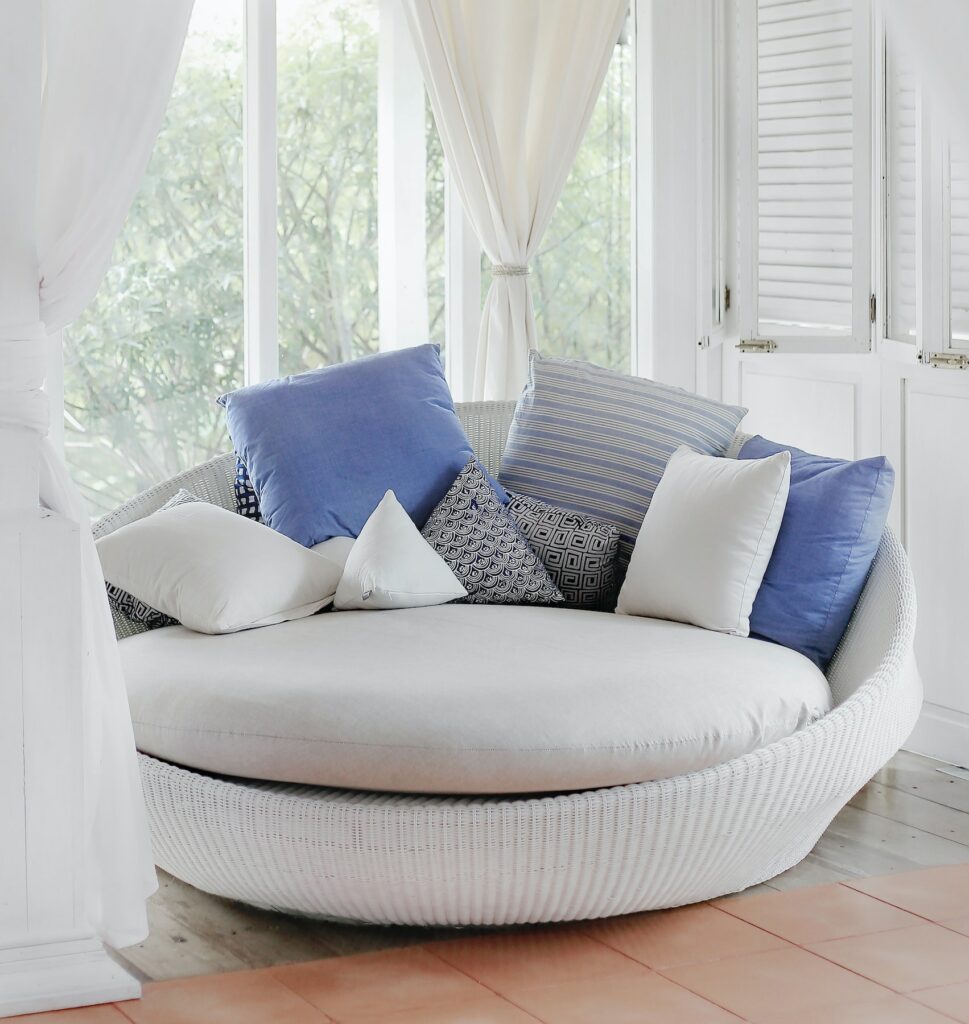
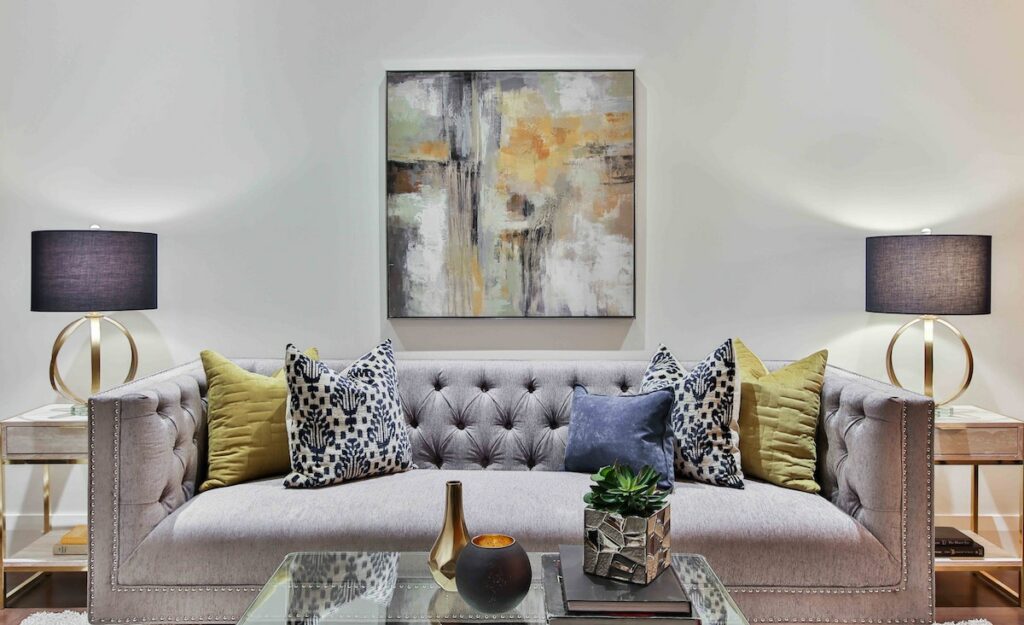
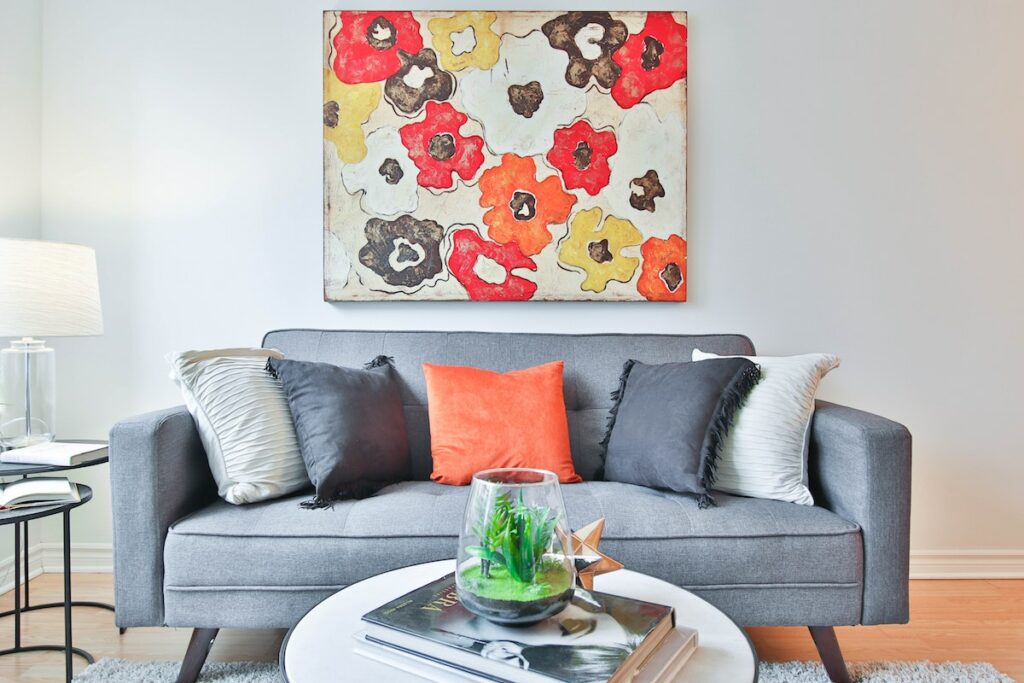
For a couch, you can get a little more creative. For a longer couch, experiment with different-coloured cushions styled in clusters of two or three cushions each. For a more structured look, you can use the exact same cushions and mirror the same arrangement on each side of the couch.
To create a more unstructured look which suits an eclectic look or kids’ rooms, mix-and-match random prints and styles. Mix plain, textured cushions with colourful photo cushions and prints, such as a zebra-print cushion, or striped styles.
3. Add some unexpected personalised photo cushions
If you need a whole new look, why not add something unexpected and then style your whole room around that print? Choose from our favourite ideas for personalised photo cushions:
- A modern geometric print in bold, primary colours
- Family photos
- Couples photos – these are perfect for the bedroom!
- Animal prints; zebra stripes, cheetah-print cushions, or even something more unusual like peacock feathers
- Aboriginal prints – these can look great as cushions. The natural colour palette of these prints can work in practically any room
4. Get the right mix of cushions
When choosing personalised photo cushions, do try to practice some restraint – after all, you don’t want to go cross-eyed when you’re looking at the couch! Aim to mix patterns and bold prints with plain colours to break up the detail.
Also, try to work with your existing décor! If you’ve already got a bold couch in blue velvet, for instance, you don’t need to go overboard with crazy prints! Or, if you do, keep colour to a minimum. Add black-and-white-striped cushions, neutral tones, and black-and-white photo cushions.
Before you go wild buying cushions, consider what you’ve already got and how you’ll mix and match your existing styles.
5. Master styling personalised photo cushions
When it comes to cushions, more is definitely more. That said, if your guests can’t even sit on the couch due to all the cushions, it might be time to swap out some cushions! You don’t need to have all the cushions on the couch at once. Instead, why not swap your cushions out seasonally, adding a darker colour palette for winter and pastels or bright colours for spring?
Alternatively, you can find various corners for most of your cushions. Add cushions on your armchairs, beds, couches, or even on your window seats.
You can use your own photography collection as an endless source of content for your personalised photo cushions. But when that collection runs dry, you can always look elsewhere. Luckily, we’ve got millions of designs to choose from – so start browsing!


