
Even the most practised photographers can make photography mistakes from time to time. If you’re a beginner, you’re bound to make lots of mistakes, often, but that’s ok! It’s all part of the learning curve. Often, we won’t even spot a mistake until afterwards when looking at the image when you might see a stray hair in a portrait, a crooked horizon or an image that’s a little too dark.
The good news is that exceptional shots can often be salvaged with some clever editing tricks. At the same time as we refine our photography skills, we should be refining our editing skills, honing them to perfection so that we can transform even the dullest shots into photos we can be proud of.
Read on to learn how you can edit out bad photography mistakes and hone your editing skills.
Find out how to fix the most common photography mistakes
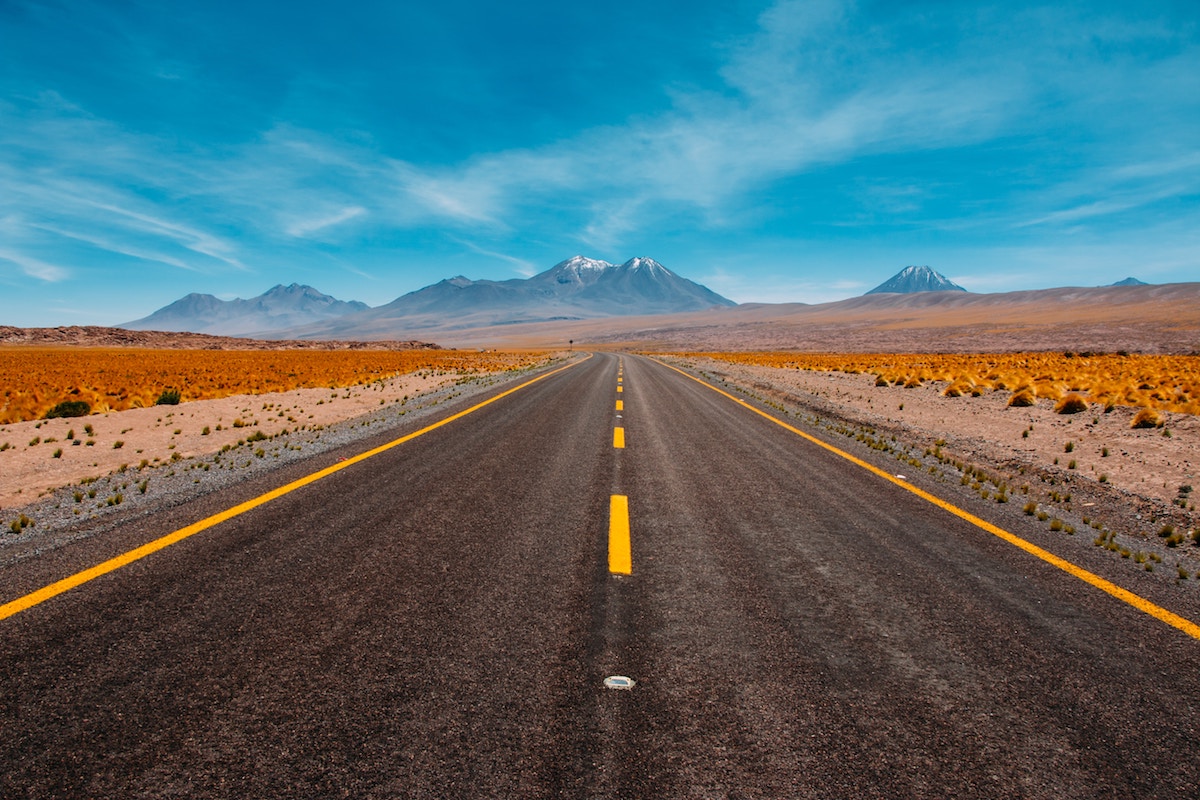
1. Crooked horizon
A crooked horizon may not be immediately obvious at first glance; however, it may be distracting when studying your photographs, or when your image is larger. Sometimes you might not even realise until you go to print your images. It’s easy to spot a crooked horizon if you can compare it to other straight lines in the image.
A crooked horizon is a photography mistake that can be easily adjusted using Photoshop, Lightroom, or any other simple smartphone editing app. Simply rotate the image using grid markers until it is straight. To make it even easier, some programs can even do this automatically.
2. Composition errors
If you’re shooting in a hurry or focusing on another element of the shot while you’re taking it, you may not be paying proper attention to composition.
If you haven’t paid attention to the “rule of thirds”, this can often be fixed with some selective cropping. If you’re not aware of the “rule of thirds”, it refers to the process of dividing your shot into 9 squares and positioning objects or focal points in the intersections of those squares. Why? Well, apparently our eyes are drawn naturally to these points in an image, so images that follow this rule may, according to the rule, appear more aesthetically pleasing to the eye.

Most of us may follow the “rule of thirds” unintentionally. Most practised photographers will do this without even thinking about it. For beginner photographers, however, the grid section on a camera will help guide the process of easily applying this rule while shooting.
If you haven’t applied this rule while shooting, however, and you’d like to, this photography mistake can be fixed by cropping your image in order to change the composition. As a rule of thumb, when cropping, don’t crop people at awkward places so you’re cutting off their limbs at their hands, feet, knees or elbows. Feel free to leave out unnecessary detail in your image, which will only detract from your image, like distracting objects, or people.
3. Photos look dull and dark
Dull or dark images are a photography mistake that can be easily be corrected through editing. Whether you choose to overexpose or underexpose is quite a personal choice. Some photographers prefer to overexpose because they say this method leads to better image quality.
But deliberately underexposing can be a helpful trick, as, generally speaking, it is easier to recover information from shadows than it is from overexposed areas, so this can be a good technique for beginners. You can bring out the extra colour in skin tones, whereas overexposing can give pale skin a whiter, ghostly appearance.
Some photographers prefer the effect of overexposing whereas others don’t. It depends on your editing skill level and which style of photography you prefer.
Either way, if your image is dull and dark, all you need to do is use your editing tools to increase exposure. In Lightroom, you can use the slider bar and make adjustments to your image that way.
If you are working on your Smartphone, an app called Snapseed is handy for making quick edits. It also has a selective edit tool which allows you to change exposure, saturation and make other adjustments to specific areas only, which can help you achieve a cohesive image.
4. Red eyes
Ah, the dreaded red-eye. Unfortunately, despite adjusting camera settings, you can still end up with red eyes in your carefully-composed portraits, and you may not even realise it until later.
But luckily, this photography mistake can be rectified. Red-eye can be removed for humans and even pets with editing tools, resurrecting your ruined images. You can use Lightroom, or, if you’re using your smartphone, you can use applications like PicMonkey or even remove red-eye using the iPhone’s in-built editing tool.
5. Uneven white balance
Even the best photographers don’t always get their white balance right when shooting. There are a multitude of factors which can alter your white balance, making your photographs appear too warm or too cool. Some artificial lights can have a warm glow, as can candles and sunrises or sunsets. On the other hand, sometimes an overcast day can create cool tones in your image.

Depending on your stylistic preferences, you might prefer either a warmer or cooler look; but unless this is consistent and intentional, you’ll probably want to make corrections. An easy way to tell if your white balance is off is by checking something white or neutral in your image. If it has a cool or warm glow, you may want to alter the white balance.
The easiest way to change this is by using a mobile app or Lightroom. Using Lightroom, you can choose automatic white balance settings and test out which one you prefer. For example, the setting “Tungsten” will warm up your image. Otherwise, you can manually make adjustments to your white balance using the slider tool to select your desired white balance. Simply slide the bar to the yellow end to make your image warmer or blue to make it cooler.
6. Excessive editing
As an enthusiastic beginner photographer, it’s far too easy to edit excessively, blowing out saturation, contrast or clarity. Often this will create photos which look unnatural. The key to amazing photographs isn’t necessarily less editing (however, sometimes less editing is better!) but it lies in editing slowly, making subtle adjustments to create a natural-looking photograph.

Editing well is a skill that you’ll need to develop slowly, over time. You won’t necessarily be able to master it all at once, and you may start with some cringe-worthy edits, to begin with. But eventually, you’ll learn to practice some restraint, coming up with some fantastic edits that serve to enhance your photographs.
7. Rogue people or objects in the shot
If you’re shooting in a crowded place like the Trevi Fountain in Rome, you might not be able to help the odd person straying into your shot. Or perhaps you want to remove the odd sign or object in your image? There are many tools which allow you to edit things out of photos.
On the desktop, you can remove items using Lightroom by using the healing brush. Make sure it’s set to “heal” and not “clone”, and mark the area you want to remove. Try and cut as closely as possible to the edges of the item.
If you want a simpler tool to use while you’re on-the-go, the Touch Retouch app is perfect for a smartphone. It allows you to easily remove objects or people from your images, making them appear cleaner and more pleasing to the eye.
If you can learn to edit your photography mistakes, you can resurrect any photos which contain unsightly compositional errors. Once you have your perfect shot, why not turn it into a beautiful canvas print, metal print or acrylic print?
Start browsing our range of print styles to display your beautiful photographs.


